DIY PLATINUM BLONDE HAIR
*This page contains a few affiliate links.
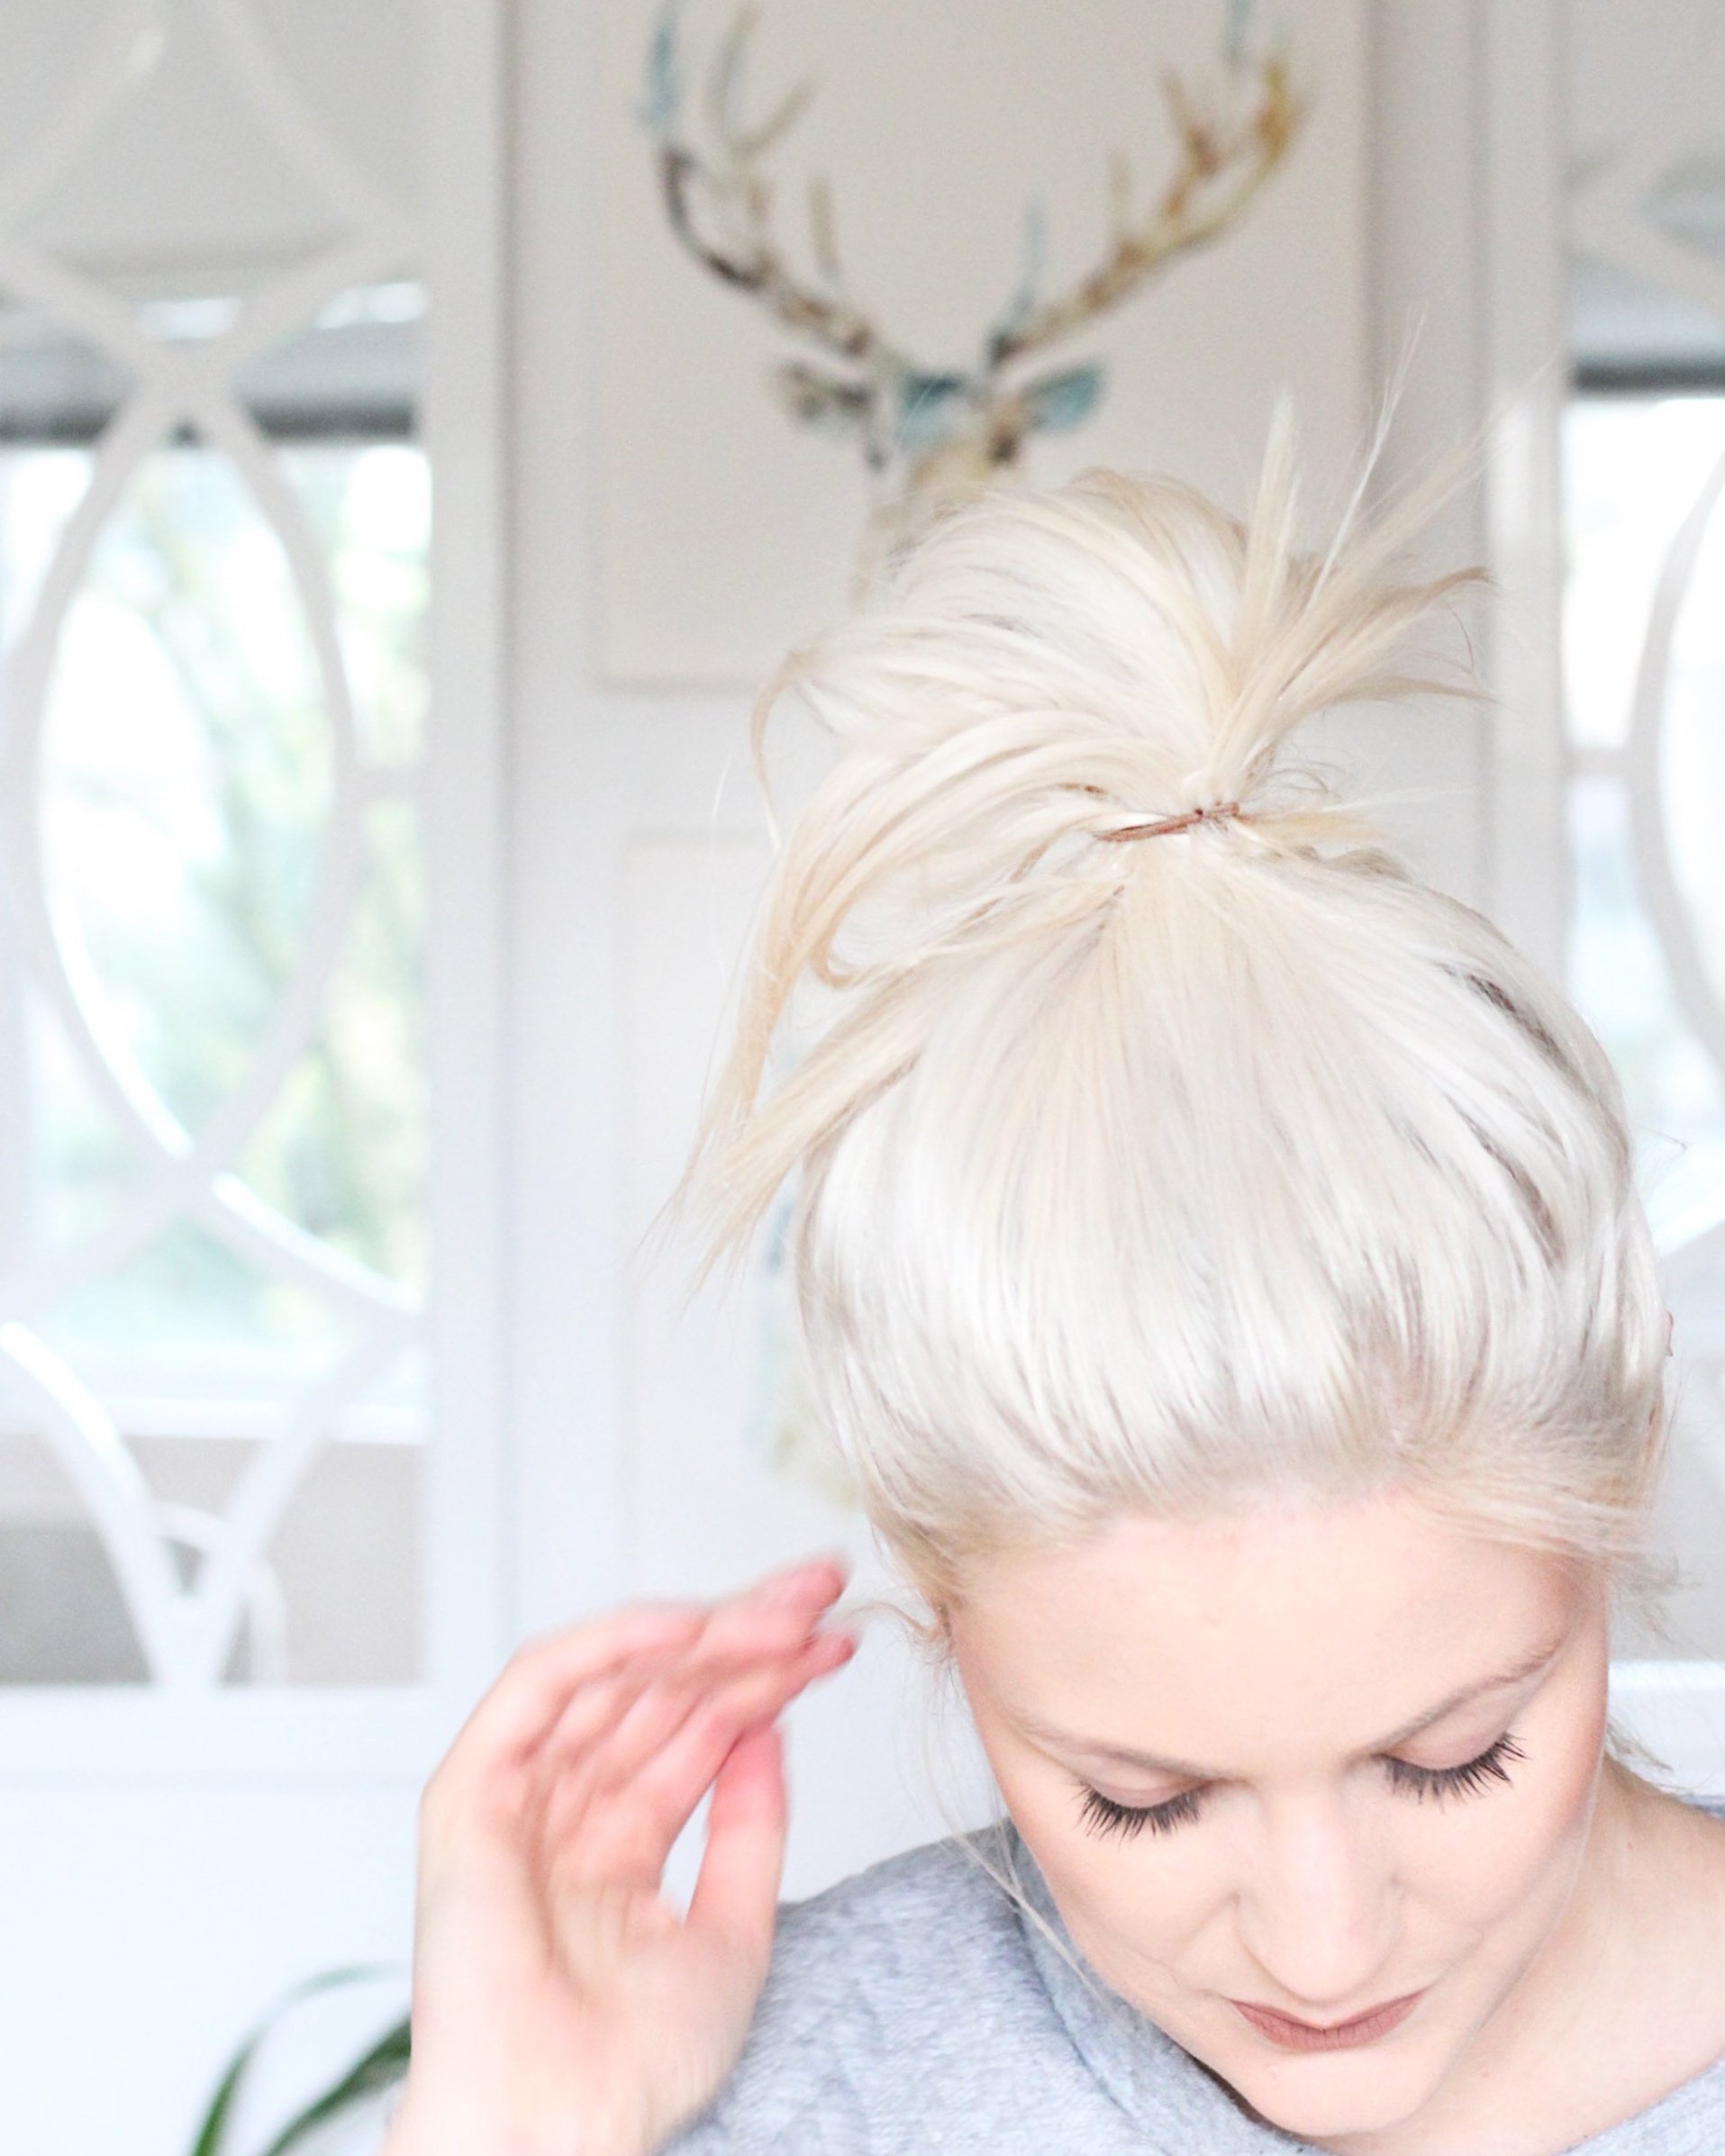
For several years I had platinum blonde hair.
I need to start this tutorial with a quick story about the journey I went on to get my hair where it ended up in this video and on this post (I originally wrote this post back in 2016 on my other blog and had platinum blonde hair for at least 4 years).
It started when I eagerly and excitedly decided to ask my (previous) salon to have them transform my long, brown locks into a short, platinum blonde hair angled bob.
Long story short I ended up NOT getting platinum, rather a very warm pee color. Three different hairstylists, and two different salons later I still was left with light-ish blonde hair, but not the platinum blonde hair I wanted. No one was willing to go that light for me, which is fair enough… since at this point my once almost untouched brown hair had gone through the wringer.
So, being the resourcefully, savvy and determined person that I am, I took to Google and discovered that it wasn’t as hard as I had been told and also thought it would be. I was needing to go from pee yellow to almost white and I was (and am not) a professional. So with extreme caution, and much questioning, I went to my local Sally’s Beauty store and I bought some developer, bleach powder, and toner and set out on a journey to get the platinum blonde hair that I wanted.
This tutorial is really just how I do my touch-ups, but the process is quite similar (if not a bit easier) with doing a full head.
BEFORE + AFTER
Now before I really get into the details, I want to say this, I AM NOT A PROFESSIONAL. I also know my own hair. My original color is medium brown and I know that it lifts fairly easily with bleach. I also know how much bleach my hair can handle now before it starts to get burnt (melt). So PLEASE be careful and know how much bleach you have on your hair before you proceed, and make sure to not get too sloppy with leaving it in too long either because I’ve had a round of root filling that went a bit too long and has paid for it with really weak hair in that area.
Also, for extra protection you can do this with gloves. I know it’s obviously good to recommend this however honestly I’ve never done it with gloves mainly because the bleach doesn’t bother my skin and I rarely touch the bleach the way I apply it, so this is up to you!
NOW for the goods….
To achieve this platinum blonde hair there are a few things that you will need below that I will list but I want to first suggest a great trick I’ve found that works well for both hydrating as well as helping control my mane when I’m doing my roots:
It’s one of the only oils that the bleach will penetrate through.
Below are the products I used and the process which I have mastered for myself over the course of four years doing this to my own hair.
The key to this process and not overdoing it is that I do 2 rounds of bleaching.
That may sound crazy to you but in reality because I use 20 volume developer, it is less harsh chemicals on the head and if you space out the applications between a day or few then it really can help you manage how light you can go without being too wary of burning it.
That’s why I just don’t recommend using 30 or 40 volume developer at home but you can be the judge of that :)
THINGS YOU WILL NEED ||
+ Coconut oil
+ 20 Volume Creme Developer
+ Violet Prism Lites Lightener (alternative: Wella Lightener)
+ WELLA T18 Lightest Ash Blonde Color Charm Toner
+ Hair Color Mixing Bowl & Dye Brush
+ Duck bill clips
+ Shampoo + Conditioner Bars (I use these now - way better for the hair)
STEP 1. | COCONUT OIL HAIR MASK
The first thing you need to do is get a little bowl of coconut oil, warm it up a bit and then comb it through your hair with your fingers or just a normal comb. Make sure your hair is fully coated.
This will help to make the application of the bleach a lot easier as your hair will be a bit moist as well as give it a bit of extra healthy nutrients along the way.
STEP 2. | SECTION HAIR
Part your hair into four sections as I have shown above. I’ve done it both ways, with and without doing this. It does help to do it this way as it keeps your hair nice and organised when applying the bleach - and if you’re doing it yourself, it can get messy.
NOTE: I do two rounds of 20 volume developer bleaching, and what is shown in the picture below is after my first round…. my natural roots are much darker than this.
STEP 3. | MIX DEVELOPER & LIGHTENING POWDER
Now you have to mix your first round of ingredients together: 20 vol Developer and Lightening Powder.
The developer is the peroxide that helps the lightener (bleach powder) activate and essentially work.
Now depending on whether you get the mini packs or the big tub, there will be instructions as far as how much of each you mix together. I normally eyeball it after having done this for several years but I would go off of the product recommendations on your first go.
STEP 4 | APPLY THE BLEACH
This is the part where it will be a bit different from either doing your full head vs just roots, which really is just how much hair you’re going to cover. The method for application is the same for both, you just start from one of the sections and work your way around. Now, this may be somewhat subjective (and I’ve tried both ways) but I like to start with the top sections first and then do the bottom last.
I personally like to make sure my top and my front are covered well but honestly, it almost doesn’t fully matter. Then just work your way through, using the back pointy part of the hairbrush to gather a straight, thin section of hair. Apply the mixture from root to end (and if you’re doing your roots, don’t cross over too far of your previous hair but JUST ENOUGH to make sure it doesn’t leave a brown streak), and apply on both sides of the section.
NOTE: Leave the very wispy perimeter of your hair alone until you’ve gone through the first two sections. The baby hairs lighten a lot quicker so you don’t need to leave it on as long…I’ve learned this the hard way a couple of times! lol
STEP 5 | WASH HAIR
Once you’ve made your way through your sections, watch the clock and leave it on for no longer than an hour (or whatever the directions say to leave it on for.) Obviously, the first sections you applied the bleach to will lightener sooner than the others, so just watch it and if need be you can wash out the first sections off if you need to.
Then hop in the shower and wash that stuff off. If you want the healthiest application, wait a day or a couple days between this and the second application. It does help give your hair a chance to breathe if you can wait. I’ve done both same day and waited a couple days - it’s just up to you and what you can live with (as your hair will be pretty yellow haha).
In recent years I’ve started using natural shampoo and conditioner by Viori. They’re all natural shampoo and conditioner bars that last so long and are well worth the money - their story is pretty cool too.
STEP 6 | APPLY 2nd ROUND OF BLEACH
Now, this is going to depend on your hair. I’m going to guess your hair isn’t going to lighten completely the first round of only 20 developer (unless it’s a lot lighter than mine). I’ve always done two rounds of this process before I tone, and that’s just because I know I can get the exact color that matches without getting too burnt the first round. You’re wanting a very pale yellow like the color of the inside of a banana, and as you can see from the first level I got in the first pictures, my hair was not light enough to get to the matching color. The toner won’t make it lighter - all the toner will do is help take out some of the yellow tones and even out the color.
So you’ll have to make a call on this.
If you do do it a second time, obviously be more careful so it doesn’t bleach too far.
If you’re really nervous there’s a method called Bleach Bath, which is combining 1 part shampoo to 1 part lightening mixture (the step 2 mixture of both developer and lightener). This essentially ‘waters down’ the bleach. This is the method I did originally on my whole head to make sure I didn’t overdo it.
So if you’re going to do it the second time, my suggestion is to wait a day or a few so it has time to rest before the second application.
STEP 7 | MIX THE TONER
This step is the final step that will seal the deal and make that pretty platinum blonde hair color come to life. You need to mix the T-18 Wella toner with the 20 volume developer.
NOTE: What I have found over the years is that if you used 10 volume developer with the toner instead of 20 volume it still achieves the same shade of color just with a bit less harsh of a process. This would mean to buy a second developer so it’s up to you. I was fine with 20 volume for years so you can make the call based on your budget.
Again, there are instructions on the measurement which I believe is a 2:1 ratio, but make sure to check it. For my roots, I only use half the bottle of the toner, but this is because I mainly only do my roots and run a little bit through the rest near the end. So depending on what you’re doing, you can either use the full or half bottle.
Mix it well until it turns into flubber/pudding consistency.
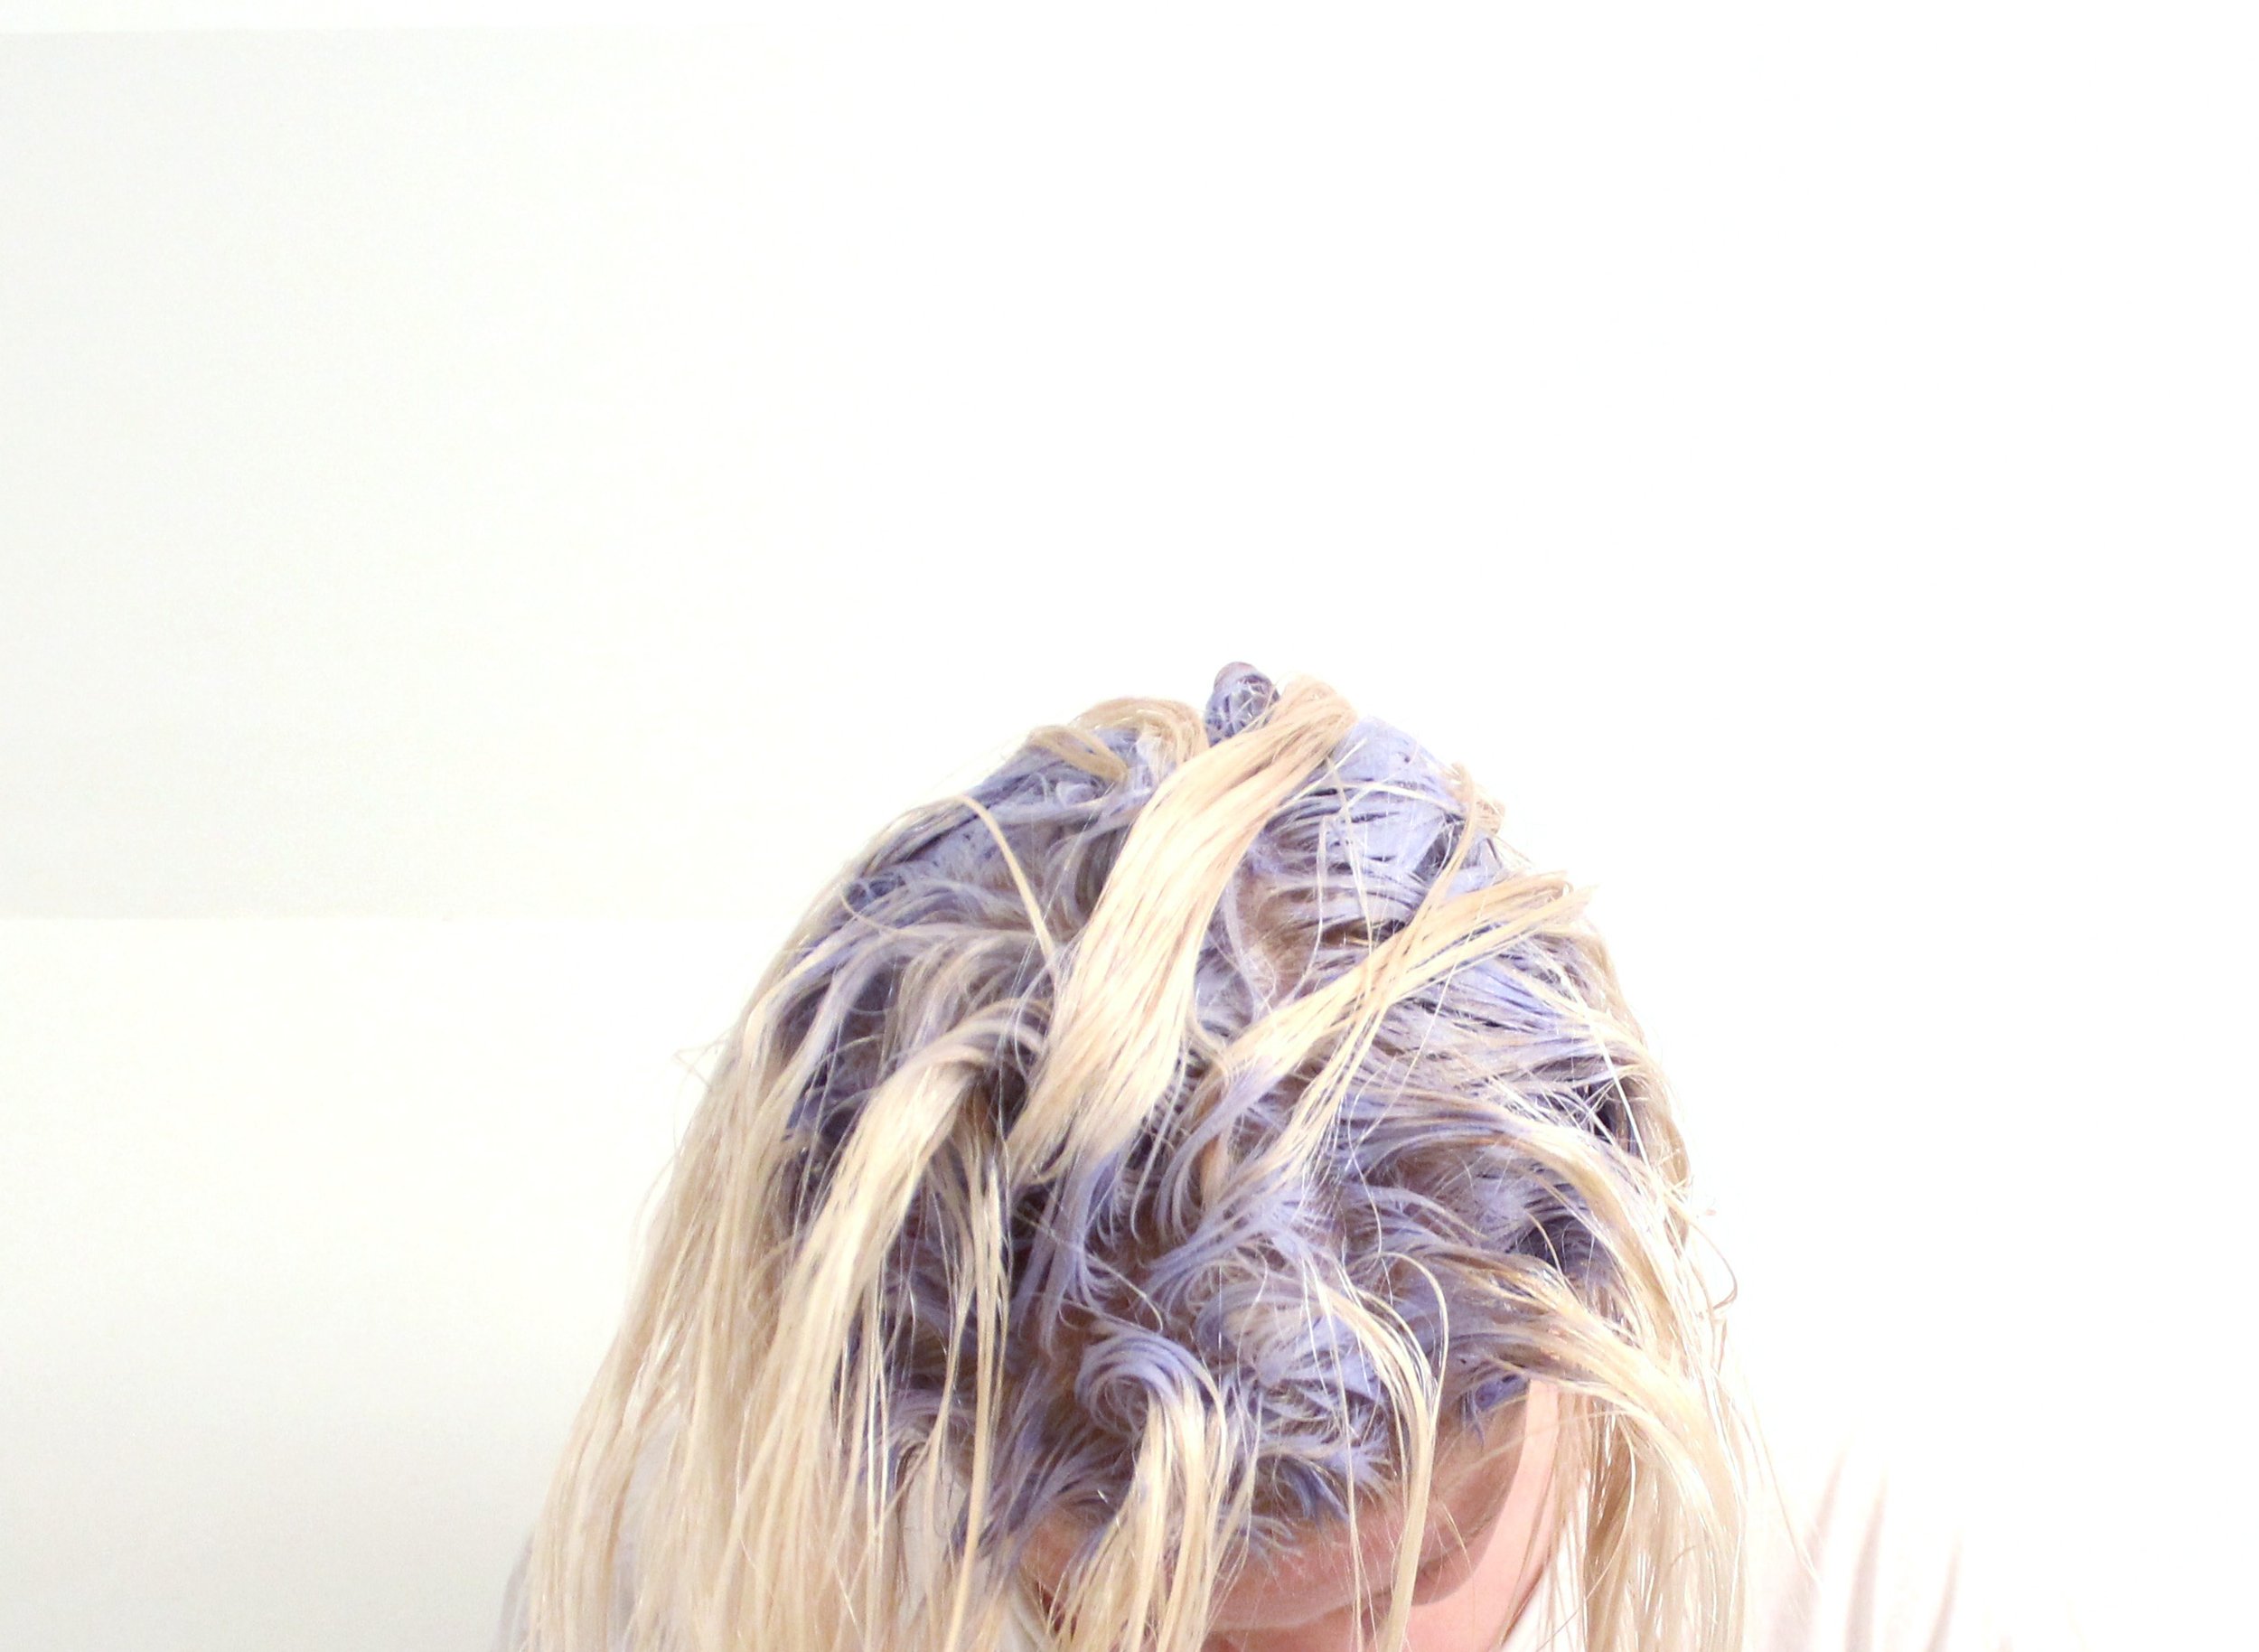
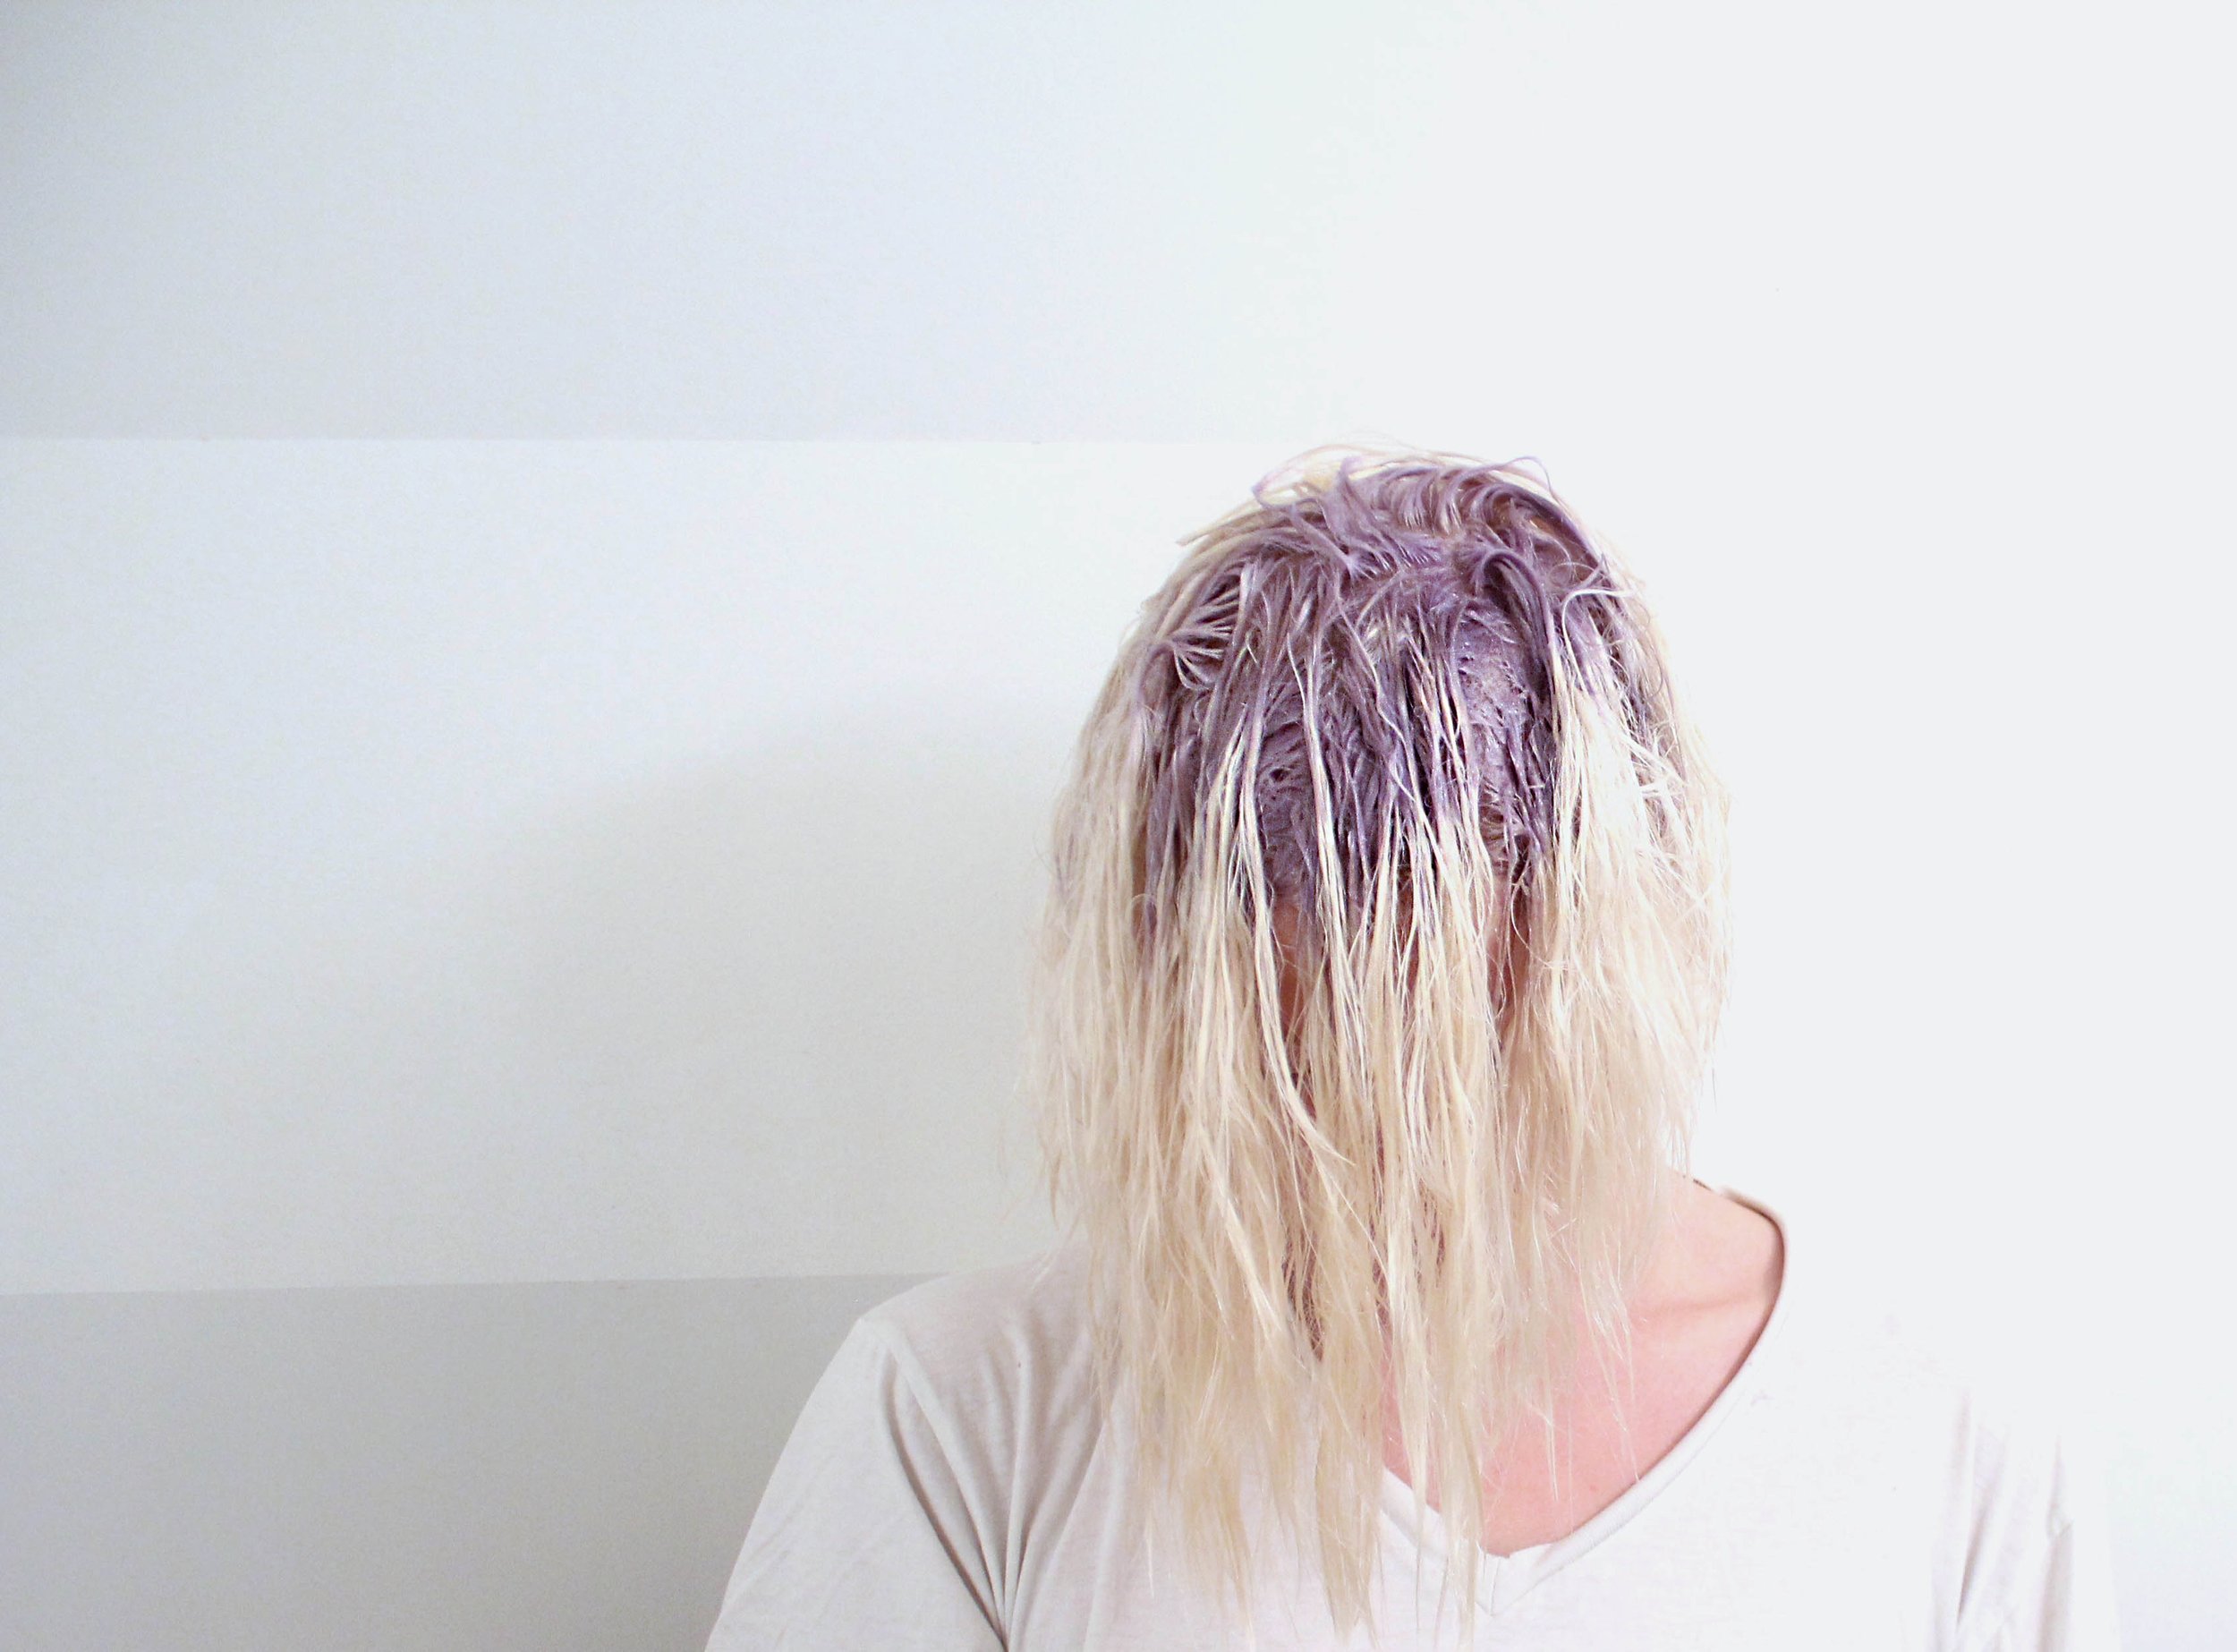
It will slowly turn purple, which is what you want, so don’t be alarmed!
Step 8 | APPLY THE TONER
This is pretty straightforward to apply. Because your hair is a bit rough, apply it gently, but start applying from roots to tip (for the full head) or just roots covering your entire head. Like I mentioned above, it will start off clear but slowly turn purple as you keep going. Leave this on for as long as it suggests. I normally leave mine on for around 15-20 ish minutes. What will happen if you leave it on for longer is you will end up with partially purple hair - which is fine, because it does wash out after like two washes, but that’s not the greatest if you need to go out right away so don’t over do it!
Around five minutes left, I usually comb it through my whole head to lightly get an even coloring. Because the toner is a permanent color, I don’t do my whole head every time just so it’s not coloring the previous color, but it does brighten it up so I do it for the last five just to get a whole head brightening!
STEP 9 | WASH AND DRY
Now, just wash it out, making sure to shampoo AND condition and then you’re done!!
I’m pretty careful now that I’ve been doing my own platinum blonde hair for over a year on my own. I sometimes get help to do the back portion, but usually, just use a double mirror and get creative.
Concluding thoughts
I do want to throw caution and disclaimer that I’m no professional and have only figured out how this works for me, I don’t even know if I would be willing to do it on my friends head only cause their color is different than mine. So if you are going to be ballsy and go for it, just make sure to ask the chicks at the beauty store any suggestions they may have, and just don’t go too far, because once you go too far, there’s no fixing the damage.
I’m a real nut about keeping my platinum blonde hair shiny, smooth and as healthy looking as possible, and I like to do on occasion a coconut oil treatment, which is simply just applying warm coconut oil on my whole head before bed, (sleeping with a towel on my pillow) and just washing it out in the morning.
Take caution and have fun!!


